Day 3: Create a website
Day 3: Start a website.
Now it’s time to disclose your knowledge to the world. Do you think it’s too early? Because research is not done yet. No, it’s not too early, because each day, each hour, each minute counts. If you extend the idea of launching a website, you have to wait again for getting indexed and appears in search results. So it’s time to start a website. We will do rest of the things parallely.
How to start a website?
Nowadays we don’t need a developer or programmer to develop a website, we don’t need to have a knowledge of coding too. 10 years old kid can also launch a website within few minutes. So the first thing is choosing a proper domain name.
How domain name plays important role in website?
Your domain name reflects the identity of your website. For example, pdf download website can have name as pdfdownloader. Com, educational website may have URL as greatknowledge. Com etc. It’s hard to find exact domain name because most of the domains are already taken. But keep searching for relevant domain. Add few keywords before and after. Check this example, if someone wants to create a website for home decor, but domain name is unavailable. Try to find relevant keywords.
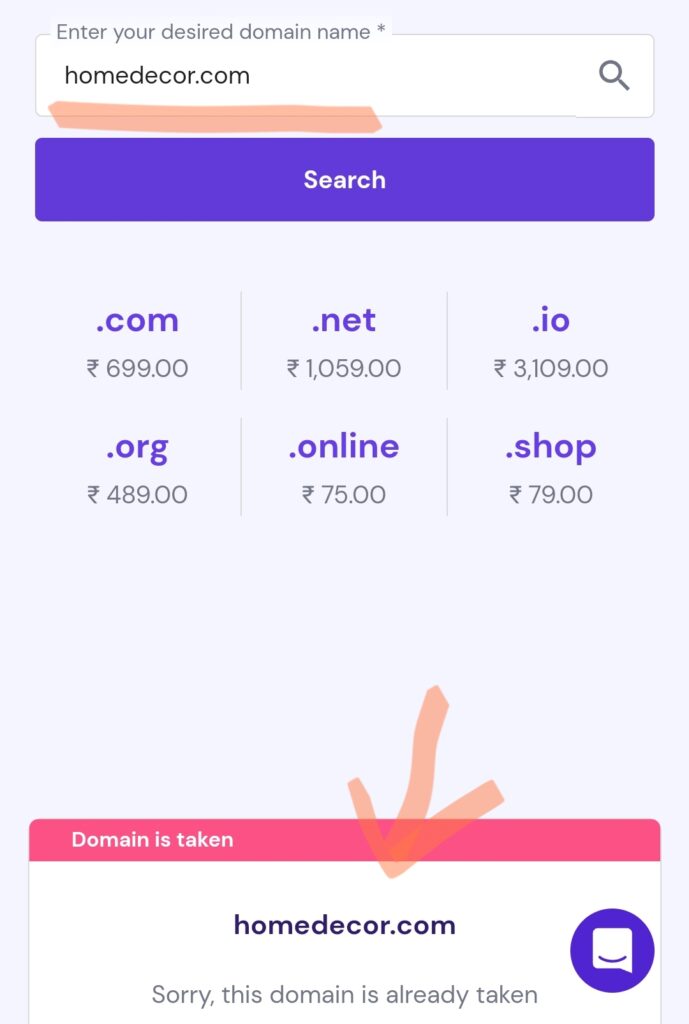
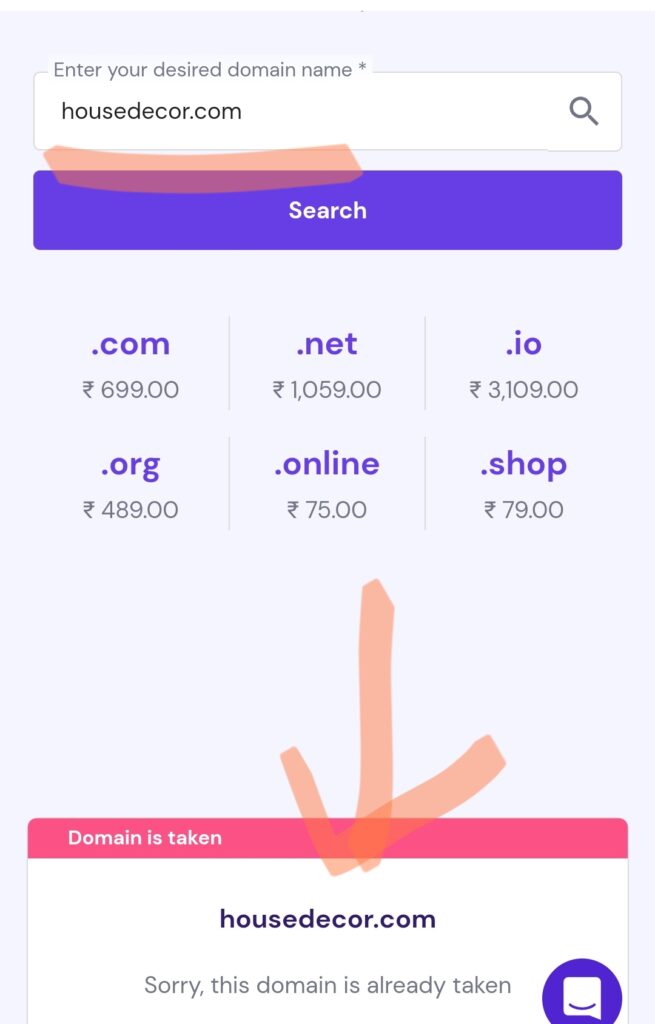
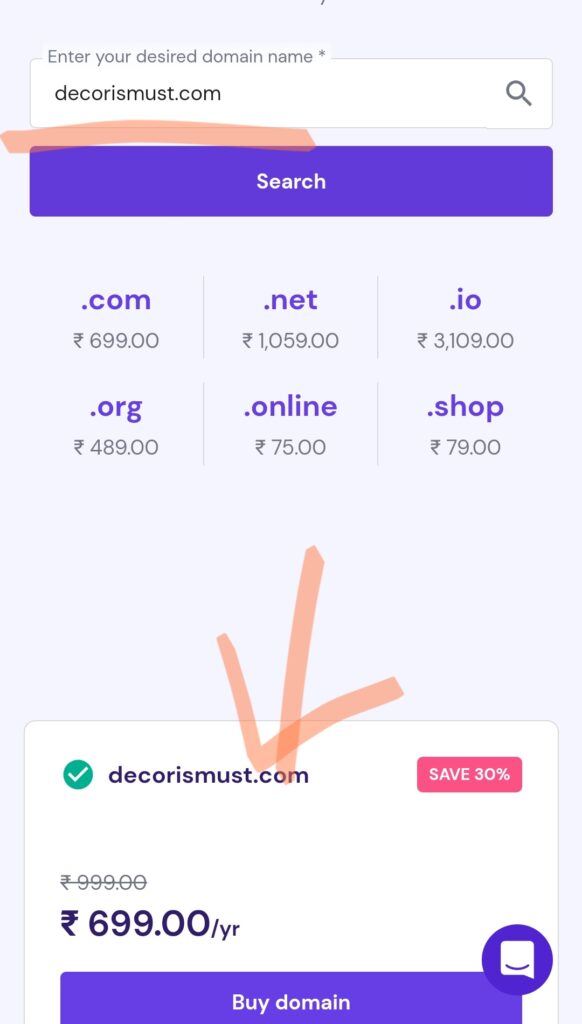
Google search algorithm consider many factors to rank a website. One of the most important factor is URL name. So be careful while choosing a name.
Create a website step by step procedure.
Step 1: Go to hostinger through this link https://hostinger.in?REFERRALCODE=1MEENA16
Step 2: sign up there, go to domains section.
Step 3: choose a domain name, try different names and see which is available. Prefer .Com and .in domains. Purchase it.
Step 4:
Go to hosting section. Choose 12 months hosting plan. Prefer premium hosting initially. Later we can upgrade it to cloud once we get enough traffic.
Step 5:
Purchase a hosting. Now you will see a purchased plan details. Under that plan details, there will be 2 or 3 options. Add a website, migrate a website
Step 6:
Choose “add a website”.
Step 7:
Select “WordPress” platform.
Step 8:
Create login details.
Step 9:
Choose a domain name. You will see your domain name in dropdown list. Select it.
Now WordPress will be installed soon. Then you will be redirected to WordPress dashboard where you can manage your website. This may take few hours to your website go live, sometimes it opens immediately.
Hold on, great job ! Congratulations..You are live.
Prepare the ingredients for website:
Your website has no data as of now. You will need multiple images. Make sure that you will use copyrightfree images only. Best resources too download copyright free images are:
Unsplash.com
Pixabay.com
Infographics are the best way to share your knowledge in minimal format. You don’t need graphic designing skills if you have canva app.
About Canva:
Canva is a best tool to design images in various format. It allows you to design in image for instagram post, facebook posts, facebook cover, reels and many more.
Number of templates are available there and you just have to edit the text and replace the image.
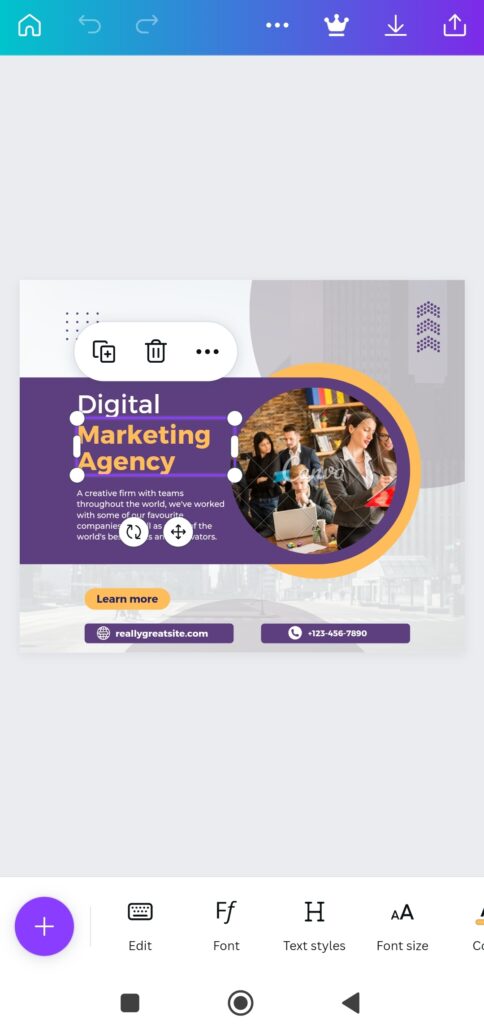
Here is the link
https://www.canva.com/join/tokyo-marketing-cabinets
Before you edit your website be ready with following images.
- Logo
- Cover image
- Blog post featured image.
- Inforgraohical image.
Editing a website.
Once you are ready with the images, start editing your website. WordPress allows you to customize many things. Primary and most important things to do in website-
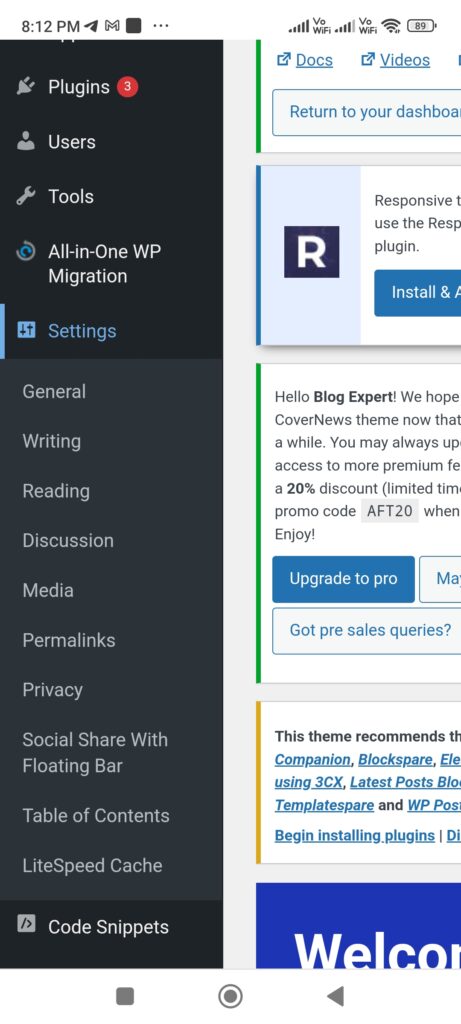
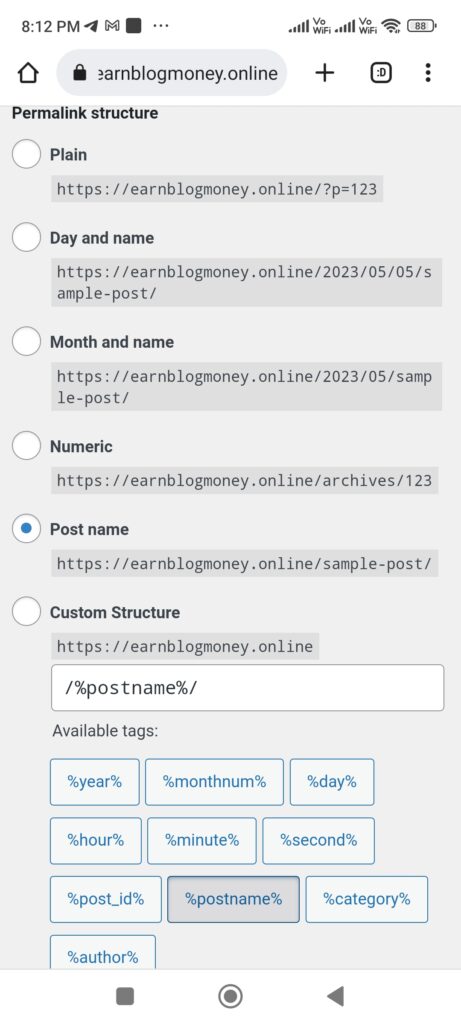
Settings: Go to settings-> permalinks. Choose URL format as website name/post name.
Theme: choose a perfect theme for your website.
Plugins: Install site kit plugin, connect with google analytics and search console. These are the most important resources to track our website progress.
Website design:
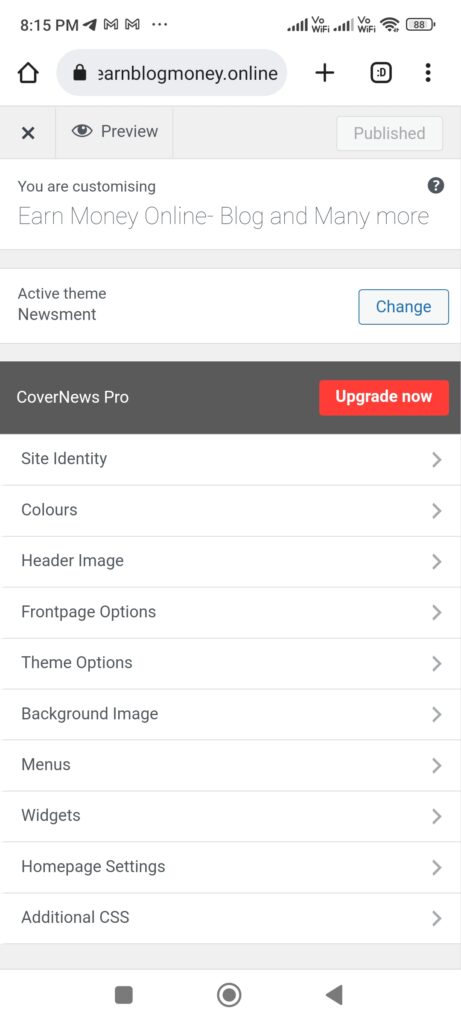
Customize website appearance using appearance section.
Choose customize option. Edit the site identity, choose website name and tagline. Choose logo.
Try rest of the options too, check where you need customization and do accordingly.
You have completed the most crucial part of blogging journey. In the next blog post I will explain how to do SEO and write a blog post. Meanwhile don’t stop your tasks assigned on day 2 i.e keep growing social communities and gathering an audience. You should be consistent to perform a tasks mentioned on day 2.
